Size
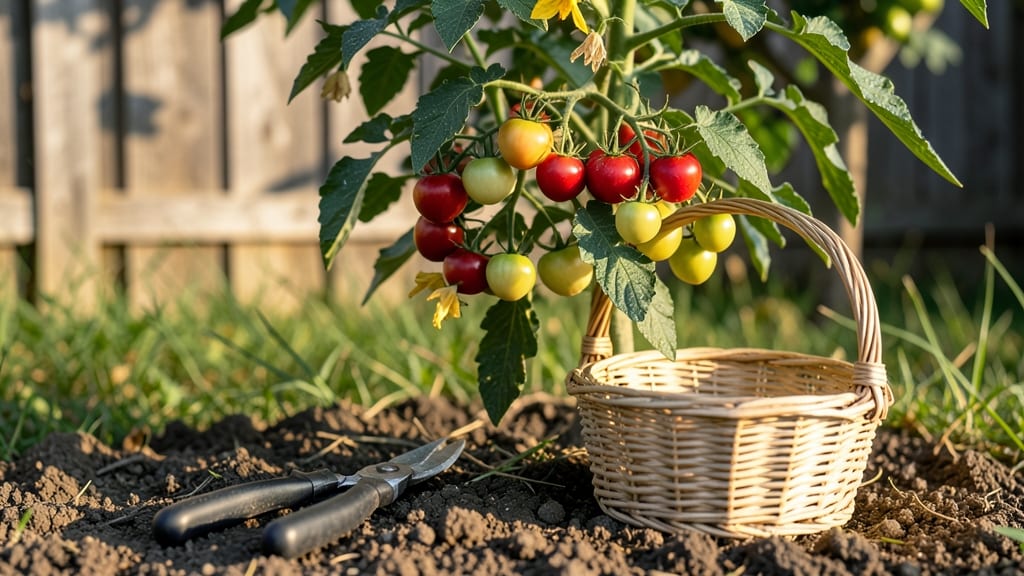
Planting the right seeds can help you grow food in just three days without soil—changing how I think about fast harvests. 🌱 The secret lies in selecting radishes, lentils, or broccoli sprouts and soaking them overnight to kickstart growth.
This isn’t just quick; it’s a game-changer for small spaces or impatient gardeners.
You’ll need a shallow container, a mesh lid or paper towels, and a sunny spot near a kitchen window. No soil means no weeds, no pests, and no waiting weeks for germination.
My first batch of alfalfa sprouts shot up in 48 hours—crisp, fresh, and ready to eat straight from the jar.
The payoff is immediate: tender greens for salads, sandwiches, or snacks with zero upkeep. You’ll skip the fuss of traditional gardening while still enjoying homegrown flavor. Plus, the process teaches you how seeds work—perfect for beginners eager to see results fast.
Works indoors, on balconies, or even in a dorm room. Here’s how to get your first batch growing by breakfast tomorrow.
📚 In This Guide
- What you need
- Instructions
- Tips and common mistakes
- Wrapping up and next steps
What you need
- ● Sprouting seeds: Choose from lentils, mung beans, alfalfa, or radish seeds (1–2 tbsp per batch, ~30–50g). Organic, non-GMO seeds are best!
- ● Wide-mouth mason jar (8–16 oz): 1 jar per sprouting batch (or a reusable sprouting container).
- ● Fine-mesh sprouting lid or cheesecloth: 1 per jar (or a breathable cloth + rubber band).
- ○ Strainer or colander: For rinsing (optional if using a jar with a lid).
- ● Water: Filtered or tap water (room temperature, ~2 cups per jar).
- ● Sprouting tray or stackable containers: For larger batches (e.g., 3-tier stackable trays).
- ● Spouted jar or spray bottle: To rinse seeds gently without overcrowding.
- ● Food dehydrator or paper towels: For drying sprouts before storage (if not eating fresh).
- ● Notebook or app: To track seed types, watering times, and growth progress!
- ● Time: 5–10 minutes daily for rinsing (3-day commitment!).
- ● Space: A sunny windowsill, counter, or kitchen shelf.
- ● Cleanliness: Wash jars, lids, and tools with hot, soapy water before use.
- ● Patience: Sprouts grow fast, but consistency is key!
Step-by-step instructions for growing sprouts in 3 days without soil
Here's how to grow nutrient-packed sprouts in just 3 days—no dirt, no garden, just pure speed.
🌱 Step 1: Soak Your Seeds Overnight
Place 1 cup of seeds (like lentils, alfalfa, or radish) in a clean quart-sized mason jar. Cover them with 2-3 inches of filtered water—enough to fully submerge them. Let them soak for 8-12 hours at room temperature. The seeds will plump up and double in size, signaling they’re ready to sprout.
Here’s the thing—don’t skip this step. Soaking kickstarts germination by softening the seed coat and activating enzymes. If you’re impatient, check after 8 hours; if they’re still hard, let them soak another 4 hours. Drain well before proceeding—stagnant water breeds mold, and you want fast, clean growth.
💧 Step 2: Set Up Your Sprouting Jar
After draining, place a sprouting lid or fine mesh screen over the jar’s opening. Secure it tightly—you’re creating a contained environment where moisture stays in but air circulates. Angle the jar at a 45-degree angle in a dark, warm spot (like a pantry or cupboard). This prevents seeds from drying out while encouraging even germination.
Every 12 hours, give the jar a gentle swirl to distribute seeds and rinse any moisture buildup. You’ll see tiny white sprouts emerge within 24 hours. This is the magic window—keep it dark and humid. If you notice any slimy residue, rinse immediately and air-dry the jar before resealing. Mold is the enemy of speed.
☀️ Step 3: Transition to Light for Chlorophyll Boost
Once sprouts reach ½ inch tall (usually 24-36 hours in), move the jar to bright, indirect light for 6-8 hours daily. This triggers chlorophyll production, turning pale sprouts vibrant green. I use a sunny windowsill or a small grow light. Avoid direct sun—it can overheat the jar and scorch tender sprouts.
Continue rinsing twice daily with lukewarm water, tilting the jar to drain completely. You’ll see leaves unfurl within 12-24 hours of light exposure. This is your cue to harvest soon—sprouts lose crispness and nutrients if left too long in the jar. Watch for bright green color and crisp stems—that’s peak freshness.
✂️ Step 4: Harvest and Store for Maximum Freshness
When sprouts reach 1-2 inches (typically 3 days total), rinse one final time, then pat dry with a clean towel. Snip stems just above the jar’s rim or transfer to a colander. Eat immediately for the freshest flavor, or store in an airtight container in the fridge for 5-7 days. For longer shelf life, freeze dried sprouts in ice cube trays.
Real talk: the first harvest is the fastest. After that, reuse jars by giving them a vinegar rinse and air-dry before your next batch. I’ve grown 4 servings daily this way—no soil, no mess, just pure, fast nutrition. The key is consistency: rinse, rinse, rinse. Skimp on water, and you’ll stunt growth. Overdo it, and you’ll drown your sprouts.
Tips & tricks for growing sprouts without soil
Here's how to accelerate your sprout growth while avoiding the most common pitfalls that turn promising starts into moldy disappointments.
The Soak Factor: For the fastest germination, use filtered water at room temperature—chlorine in tap water can inhibit growth. After the 8-12 hour soak, drain completely and let seeds sit for 5 minutes in the jar to eliminate excess moisture before adding the sprouting lid. This simple step prevents the slimy residue that leads to mold, keeping your 3-day timeline on track.
Angle Matters: That 45-degree angle in Step 2 isn't just decoration—it's physics. Positioning the jar this way creates optimal airflow while preventing water pooling at the bottom. I've ruined batches by keeping jars upright; the seeds at the bottom suffocate while the top ones get overwatered. Place your jar in a dark corner where it won't be disturbed, and you'll see those first tiny sprouts emerge within 24 hours.
Light Transition Timing: The move to bright, indirect light at the ½ inch mark is critical—wait too long, and you'll get leggy, weak sprouts. I've found that using a small grow light for the 6-8 hours daily produces more vibrant green sprouts than natural sunlight alone. If you notice any yellowing after light exposure, it's a sign of overwatering or insufficient drainage during rinses.
Harvesting Hack: When your sprouts reach 1-2 inches (your 3-day goal!), harvest immediately for maximum crispness. For storage, I recommend using a paper towel-lined container—the towel absorbs excess moisture better than plastic, keeping your sprouts fresh for the full 5-7 days. Pro tip: Rinse again right before eating to restore crispness if they've softened during storage.
Pro Tips for Plant Grow Food
- Here's how to accelerate your sprout growth while avoiding the most common pitfalls that turn promising starts into m...
- The Soak Factor: For the fastest germination, use filtered water at room temperature—chlorine in tap water can inhibi...
- Angle Matters: That 45-degree angle in Step 2 isn't just decoration—it's physics. Positioning the jar this way create...
Frequently asked questions
Got questions about growing food fast without soil? You’re not alone! Here are some common queries—and quick answers—to help you sprout success in just 3 days.
Can I grow food without sunlight?
Sprouts thrive in indirect light or even under grow lights. Place them near a window (but not in direct sun) or use a simple LED bulb for 10–12 hours daily. Just avoid dark corners—they’ll stretch and get leggy!
What’s the fastest food to grow in 3 days?
Start with alfalfa, radish, or lentil sprouts—they’re the speediest! Soak seeds overnight, drain, and rinse 2x daily. Within 3 days, you’ll have crisp, nutrient-packed greens ready to eat. Pro tip: Avoid beans (they take longer and can be toxic if not cooked).
How often should I rinse my sprouts?
Rinse them twice daily with cool water to keep them fresh and prevent mold. Use a fine-mesh strainer and shake gently to avoid bruising. After the final rinse, pat them dry to extend shelf life. No soil = no moisture buildup!
Can I eat sprouts raw, or do I need to cook them?
Most sprouts (like alfalfa, radish, or broccoli) are safe and delicious raw—just rinse them well! Cooking (lightly steaming or sautéing) is best for lentils, chickpeas, or beans to kill any bacteria. Health alert: Pregnant? Immunocompromised? Opt for cooked sprouts to stay safe.
What if my sprouts smell bad or look moldy?
Toss them immediately! Mold (fuzzy spots) or a sour, ammonia-like smell means bacteria’s brewing. To prevent this:
- Use organic, non-GMO seeds (cleaner = safer).
- Rinse in filtered or bottled water (tap water can harbor contaminants).
- Keep your sprouting jar clean and dry between batches.
Wrapping up and next steps
Growing your own food has never been this easy—or fast! With just a few simple materials and a little patience, you can enjoy fresh, nutrient-packed sprouts in just three days, all without soil.
Whether you're a beginner or a seasoned gardener, this method proves that plant-based food growing is accessible, rewarding, and perfect for small spaces or busy schedules.
Ready to take the next step? Start with a small batch of your favorite sprouts, experiment with flavors, and soon you’ll be harvesting fresh greens to elevate your meals. Happy growing—your future self (and taste buds) will thank you! 🌱✨